Tuesday 25 June 2024

How I used cinematography

 How did I use cinematography?

When looking at my short film “Upon Fate” I have noticed I have added many elements of cinematography throughout. I have used cinematography as a creative effect and a way to help my audience stay engaged with my short film. I have shown this many ways throughout my short film, the pictures below show me shooting for my short film “Upon Fate” with the lighting equipment I have set up on set with my actor performing. 


As we can see I have used all sorts of different equipment:


  • Green screen : When using a green screen it helped me be able to create a story with whatever setting I would desire. Which is good since it’ll pull my audience in with a different fictional setting that I can use.

  • Studio fill : I have used a studio fill setup which helps the lighting to be on all areas of the scene which is consistent. This will help my scene stand out to the audience with no pieces being out of place.

  • Boom arm spotlightings : The reason why I have used these lights is because they’ll give the type of brightness that I wanted. This is because it’ll also have the same lighting as the green screen background that I have chosen. This will help me during post-production since I won’t have to edit/colour correct as much. 


Using each of these aspects in my short film has helped my short film stand out and help the audience pay attention throughout. Here are some of the different techniques I have used in my short film for cinematography to make my short film more interesting:


table where cinematography was used


Type Of Cinematography 

Time Stamp It Was Used At

Mise en scene

0:00 - 0:13

Camera work & Lighting (close-up)

0:14 - 0:32

Camera work (extreme close-up)

0:33 - 0:35

Camera work (close-up)

0:36 - 0:42

Camera work (extreme close-up)

0:43 - 0:45

Camera work (close-up)

0:46 - 0:47

Camera work (extreme close-up)

0:48 - 0:49

Camera work (close-up)

0:50 - 0:52

Camera work (extreme close-up)

0:53 - 0:55

Camera work (close-up)

0:56 - 0:57

Camera work (extreme close-up)

0:58 - 0:59

Camera work (medium shot)

1:00 - 1:05

Camera work (wide shot)

1:06 - 1:18

Camera work (extreme close-up)

1:19 - 1:22

Camera work (pan movement)

1:23 - 1:29

Camera work (wide shot)

1:30 - 1:33

Camera work (medium shot)

1:34 - 1:39

Camera work (extreme close-up)

1:40 - 1:46

Camera work (extreme close-up)

1:47 - 1:48

Camera work (close-up)

1:49 - 1:49

Camera work (extreme close-up)

1:50 - 1:52

Camera work (extreme close-up)

1:53 - 1:55

Camera work (close-up)

1:56 - 2:05

Camera work (hand-held movement)

2:06 - 2:19

Camera work (close-up)

2:20 - 2:21

Camera work (extreme close-up)

2:22 - 2:24

Camera work (close-up)

2:25 - 2:29

Camera work (extreme close-up)

2:30 - 2:34

Genre essay

Thriller is a genre that is used in films, literature, etc that’s main focus is to create tension, suspense and excitement. The entire purpose of this genre is to keep the audience on the edge of their seat as they are watching the content being presented to them. Main aspects that are usually in thrillers can range from plot twist, suspense, tension, betrayal and deception, etc. In my short film, I had used all of the mentioned aspects in order to keep my audience engaged with my piece of work. On top of these aspects, more techniques were used in order to make my short film seem more in the thriller category whilst also enticing the audience to watch further.


Camera work

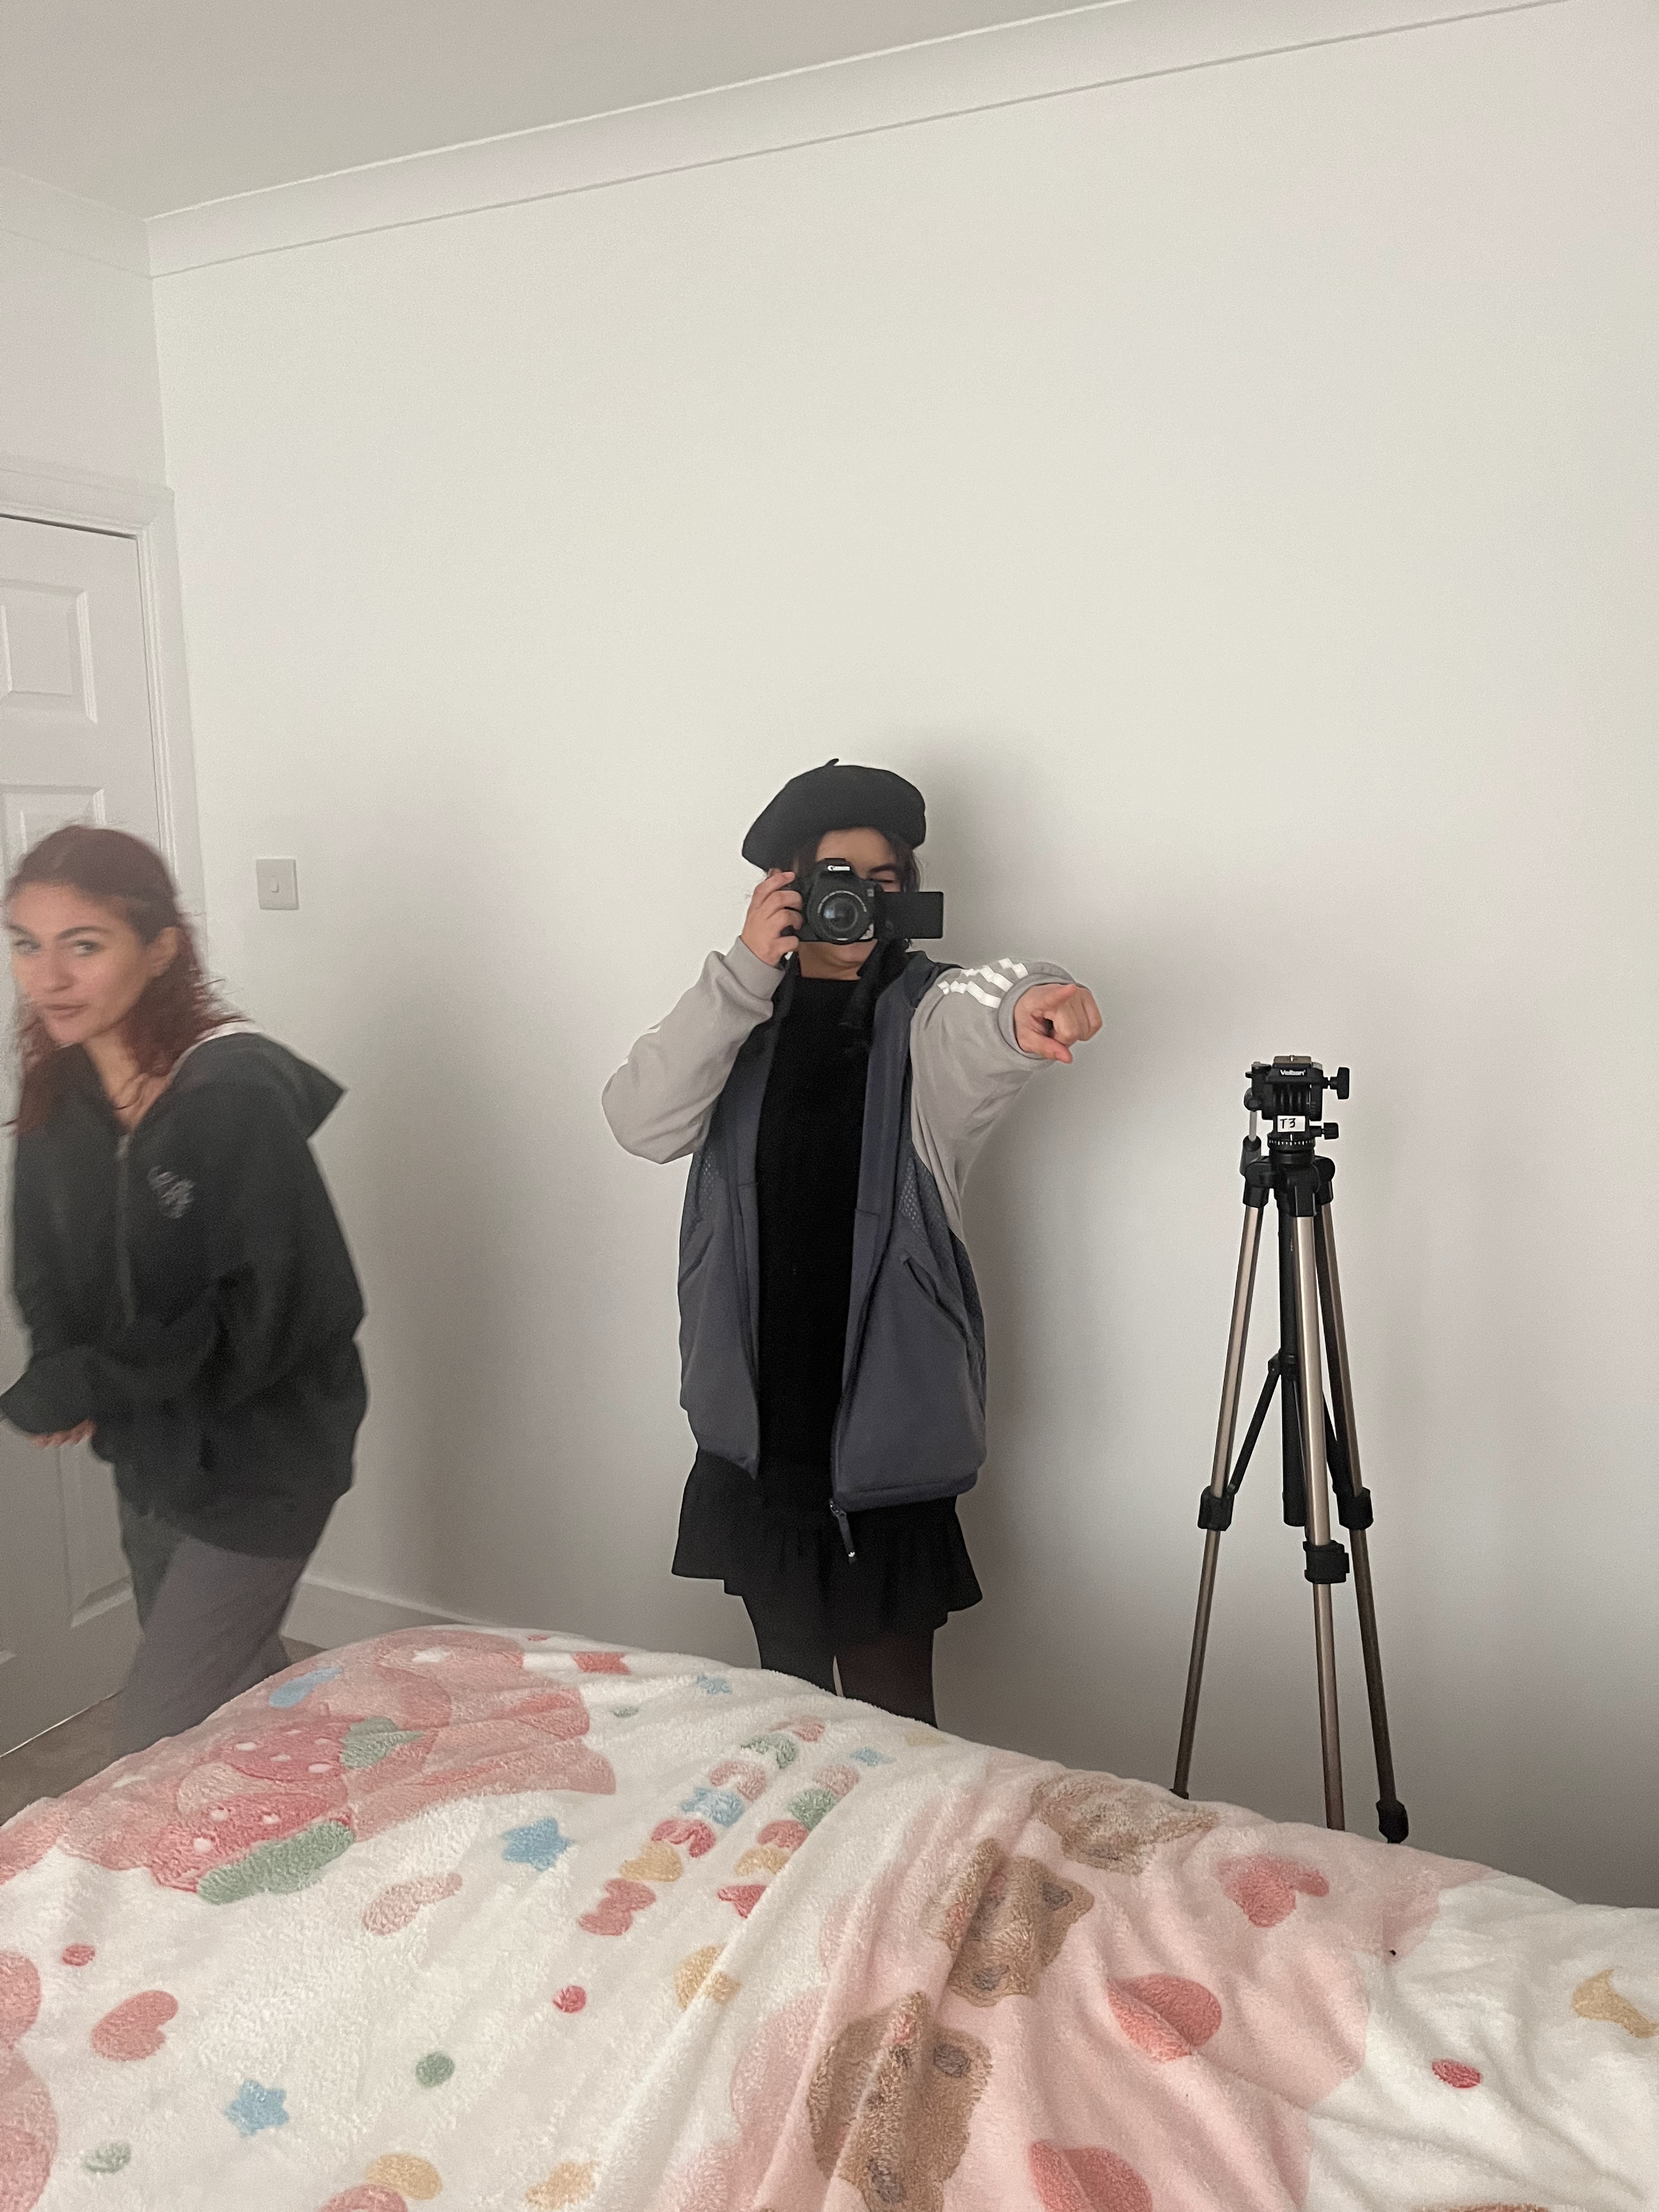
Throughout my short film I had used a various amount of camera angles to show the scenery. as well as make my characters stand out more in the scene, conveying their importance in the narrative. This can easily be seen whilst watching my entire short film as every scene (except the introduction with my narrator) is able to be clearly seen by the audience. The reason for why I have focused a lot on camera work in my short film is because my entire storyline is based on the antagonist (Jinoo) betraying and deceiving my antagonist (Sooha) and with the use of the camera work that I have done, this can be conveyed to the audience which is the main purpose as it links with the thriller genre whilst keeping them entertained. It will allow for my audience to understand that the characters within the short film have the most meaning and need to be paid attention to. 


The types of camera work that I used range from high angle, low angle, close up, wide shot and eye-level as I felt these were the best ones to use in order to create emphasis on the characters as well as set the mood of tension within the audience. 


Furthermore, at the start of my short film I had used a green screen for my narrator and a close up shot of my actor who plays the narrator. I had done this as it creates suspense with my narrator explaining what is going to be happening in the story and helps with my psychological thriller side being the emotional side of my short film. This is because the story is about a girl named Sooha and her friend Jinoo who are both vampires and Jinoo tricks her into drinking her blood when she doesn’t want to. The green screen allows me to make my narrator be in any place of my choosing as I wasn’t able to pick a location that fitted the thriller scenery. 


Lighting work

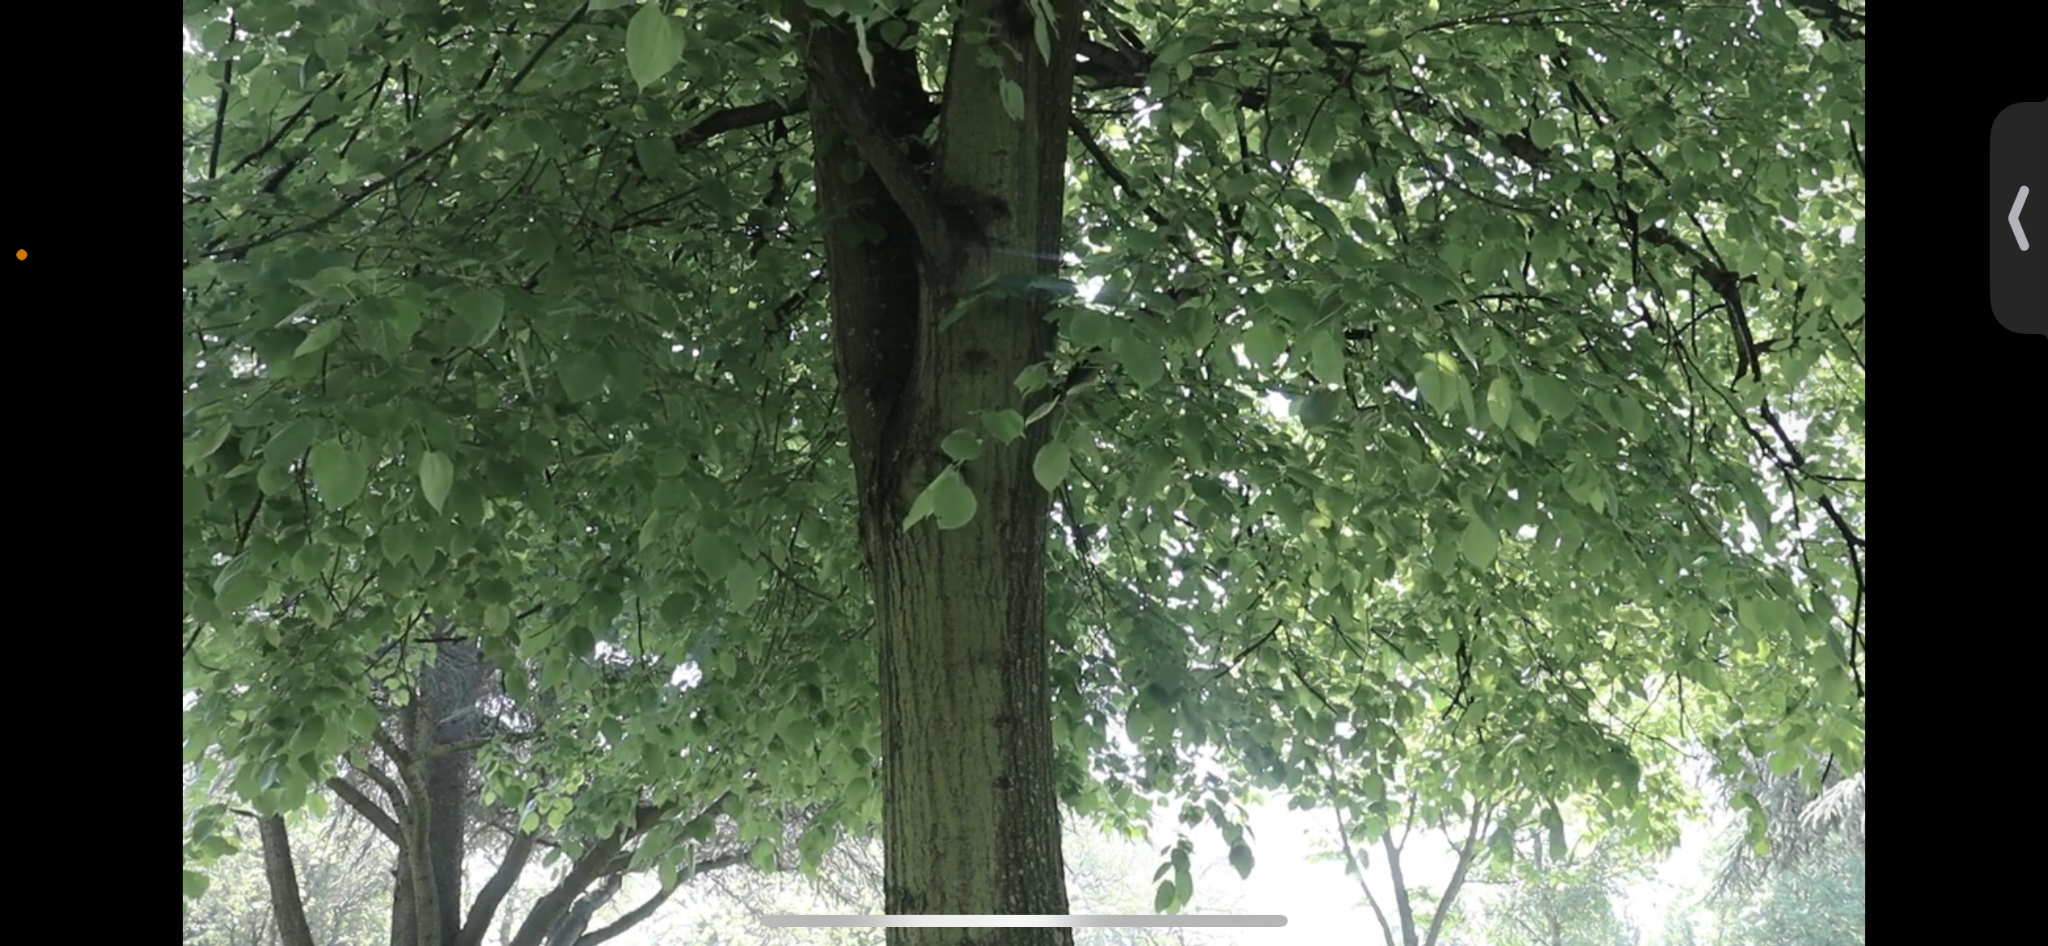
In my entire short film I had used lighting work throughout my scenes to allow for the audience to be able to see the characters and the scenery. The main lighting that I had used was natural light which in this case was sunlight as a majority of the scenes in my short film were recorded outside in the park location. Having natural lighting such as sunlight allowed me to create realism within my short film which audiences love as it can possibly relate to real life scenarios and envy emotion within the audience which can leave an emotional impact on them.


Another light source that I had used in my short film was studio rig lighting in the scene with my narrator and the green screen. The way in which I have used this whilst making my short film was by having boom arms with spotlights attached to them and shining on my narrator who was standing in the middle of the green screen area. This ensures that my character has all of the necessary lighting lighting that would make him stand in the scene and it also allows me to control the amount of light needed with precision and high quality. I needed this as it would allow me to fit with my thriller genre by allowing me to create a moody type of lighting to create a tense atmosphere and mood.


Where I had taken inspiration from

I have taken inspiration from the thriller genre in my short film from the video above which is about a boy's sacrifice to a girl and him wanting for her to bite him, to relieve him of existence.


The first noticeable inspiration that I took from the video, is the green screen effect that they had utilised for a dramatic effect when one of the characters kills another. The scene is instantly switched from a real-life altercation to a red screen room to indicate how the sword had been used to slice and kill the other person. Instead, I had used the green screen idea to transfer the setting of where my narrator is located, to be put into a more sinister thriller-like area as it would create suspense and tension within the audience.


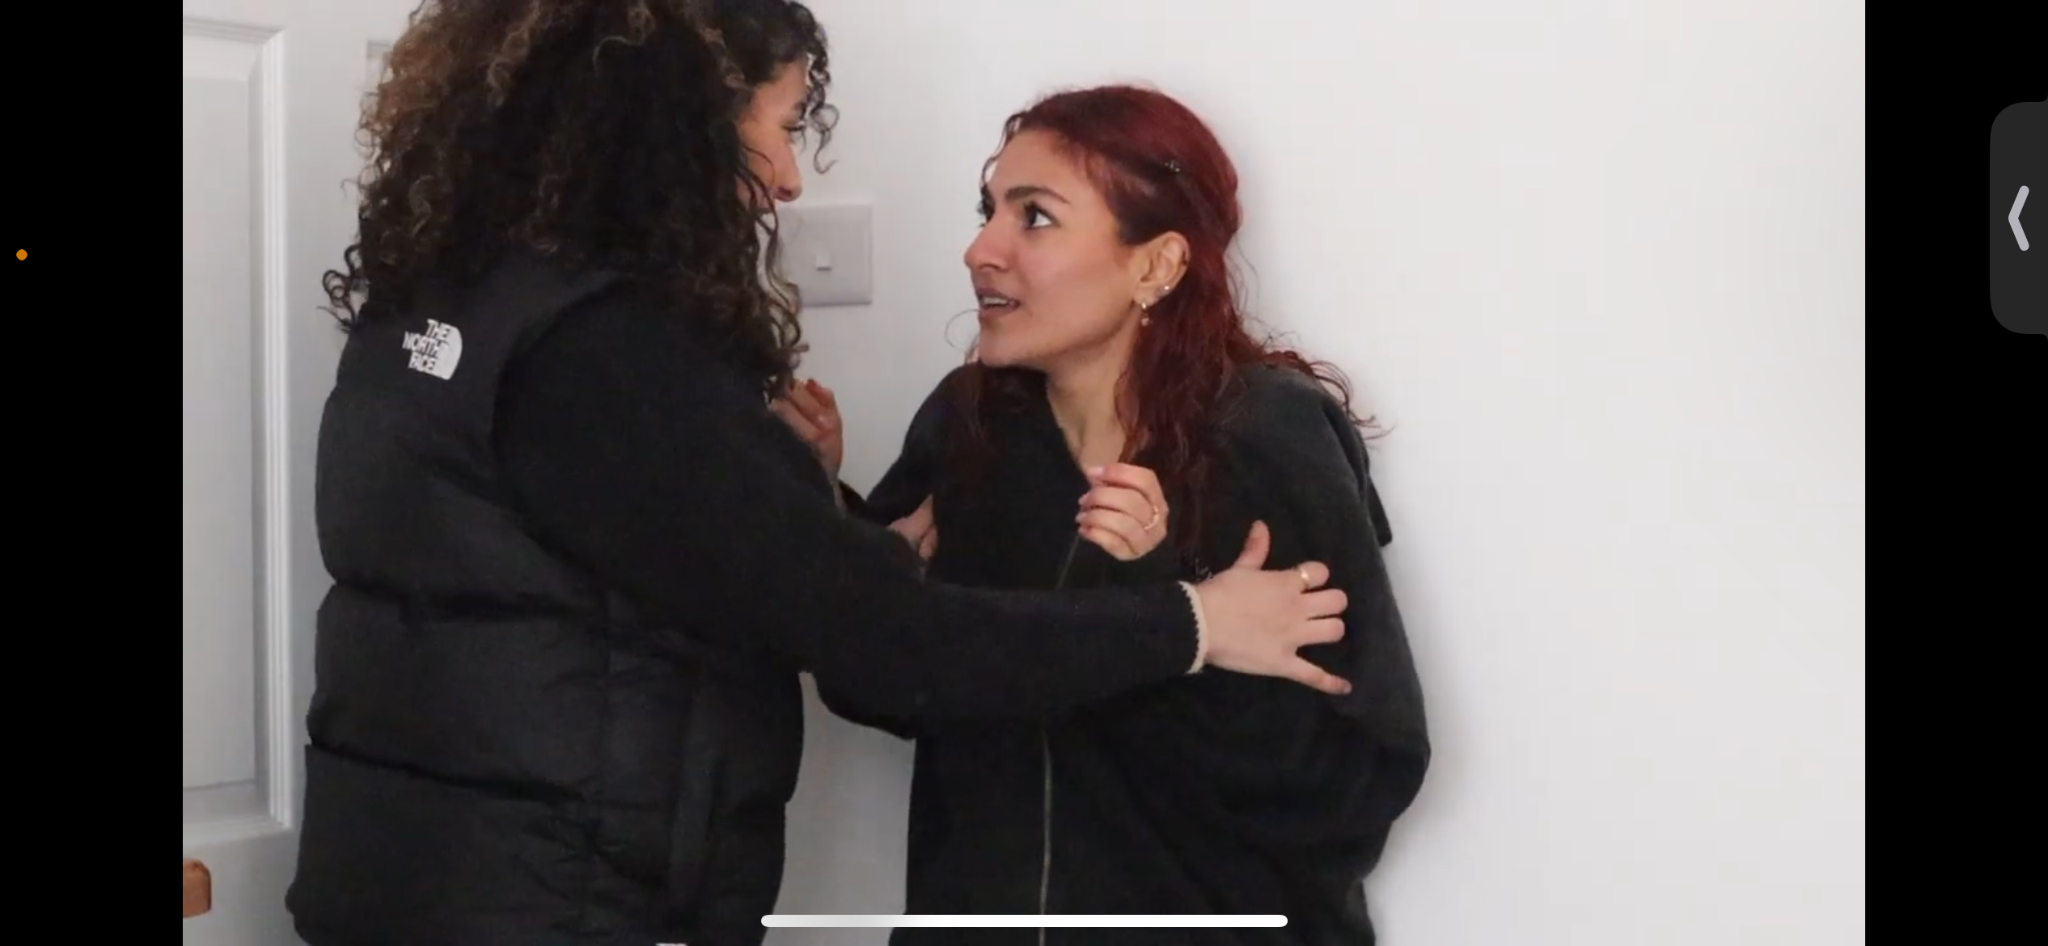
I had also based my entire short film narrative on this video by Enhypen as theirs is about a girl whose bite can make the person disappear and in my short film the characters are vampires which one wants to bite the other. Enhypen’s video is a thriller as it’s extremely tense with many fights/killing happening which creates a tense atmosphere for the audience. At the end of my short film, this inspiration is the most present as Jinoo is about to bite Sooha to taste her memories which is very similar to the video of Enhypen’s. This allows me to keep inside of the thriller genre as my short film is about betrayal and deception which creates a tense and suspenseful atmosphere for the audience to feel engaged whilst watching.


Lastly, I had also taken inspiration from the lighting aspect used in Enhypens video which was natural light. This can clearly be seen in the scene below where the natural sunlight is used to show the two characters in the middle of the field hugging each other. The sunlight provides a perfect light source to show the characters in the frame to the audience and I had also used the same in my short film with the only difference being the sun being more vibrant as the time of day is closer to the morning rather than mid-day like in Enhypen’s. As the location that I picked was the park, it allowed me to use the sun as a natural light source which perfectly allowed me to capture my two characters along with the scenery with immense detail. This natural light makes the film fit into a thriller genre as it creates realism and authenticity which makes the story more believable and immersive, therefore allowing the audience to connect with the characters much better which creates suspense as to what could happen to any one of them.


Saturday 22 June 2024

How different editing techniques compliments lighting and camera techniques

  When editing the final cut pro for my short film “Upon Fate” I knew I needed to try and use different effects which would drag my audience in. Since I was able to get the final cut pro on my laptop and bring it into school I was able to have more time experimenting with different transitions, lighting techniques and much more. 


First things first I needed to use lighting to fit all my scenes throughout my short film. Some scenes have lighting that doesn’t suit the next scene. To ensure that the lighting fits each scene I have used a editing technique:


In this scene we can see how it looks from outside. Since I filmed this scene on a different day, the lighting was different compared to the other scenes where the actors are in the forest. When using final cut pro I was able to experiment and find any different ways in which to make the lighting similar to the other scenes. The tool I have used to correct this was the colour board which makes specific colours less vibrant. In the image above we can clearly see how I have utilised the effect by adding it at the specific colour such as green and made it less vibrant for the scene. This will ensure that my audience will stay engaged throughout my production. 


When having each of the camera angles I needed to ensure that everything is straight and not wonky. As we can see in the image above there is a rotation tool that I am able to use throughout my post-production to ensure that all scenes are straight. The reason for the camera when shooting may be wonky is because when setting up the tripod and placing the camera above it may look lopsided. When creating the camera angles to be straight I must also ensure that I have zoomed in on the video seen on the image above. The reason for this is because when rotating the video it may cause black spots on the side which can be removed when zooming in. Having straight camera angles throughout my short film will ensure my audience to pay attention without having to move as much to see what is going on in my short film.


In the image above we can see how I decided to create a creative effect where I have added two of my scenes on top of each other and changed the opacity of each. This is to build tension for the audience to help them engage with my short film. When shooting these scenes they were shooted on the tripod with a DSLR camera. I imported both scenes onto the final cut pro and started editing using the blending tool and used the opacity tool to blend both scenes together. When blending both scenes together it’ll change the overall lighting of the scene which determines how bright the scene is which will help engage with the audience seen in the image above.


At the start of my short film I have used a green screen which I have used Green Screen keying to remove and add my own background to. As we can see in the image above we can see the narrator talking in a vampire mediaeval house. I was able to remove the green screen of the narrator and add a background of my choice. However to make it stand out more to the audience I edited the lighting of my narrator to help it fit with the background using the colour board selecting the vibrate colours and changing it to my desired choice. This will help keep my audience engaged since it’s a background that does not look modern but looks real since both the background and narrator have the same lighting.


At the end of my short film in the image above I have added a blur. This is whe Jino is biting Sooha, which will leave the audience on the edge of their seats. When using the tripod and setting up making sure everything is straight for the DSLR camera I have recorded then imported it on final cut pro. This is where blur comes into place which is added right at the end to leave it off a cliff hanger where the audience doesn’t know if Sooha the character has escaped or not. I have also added opacity when the blur creates the lighting to be more vibrant, the opacity makes the lighting stay the same throughout the whole scene. Each different aspect such as the lighting and camera work fit together. 


Use of cinematography throughout my short film

  How did I use cinematography?

When looking at my short film “Upon Fate” I have noticed I have added many elements of cinematography throughout. I have used cinematography as a creative effect and a way to help my audience stay engaged with my short film. I have shown this many ways throughout my short film, the pictures below show me shooting for my short film “Upon Fate” with the lighting equipment I have set up on set with my actor performing. 


As we can see I have used all sorts of different equipment:


  • Green screen : When using a green screen it helped me be able to create a story with whatever setting I would desire. Which is good since it’ll pull my audience in with a different fictional setting that I can use.

  • Studio fill : I have used a studio fill setup which helps the lighting to be on all areas of the scene which is consistent. This will help my scene stand out to the audience with no pieces being out of place.

  • Boom arm spotlightings : The reason why I have used these lights is because they’ll give the type of brightness that I wanted. This is because it’ll also have the same lighting as the green screen background that I have chosen. This will help me during post-production since I won’t have to edit/colour correct as much. 


Using each of these aspects in my short film has helped my short film stand out and help the audience pay attention throughout. Here are some of the different techniques I have used in my short film for cinematography to make my short film more interesting:


Friday 14 June 2024

Export format


After completing my final edits on my short film, it was now time to export it and behind uploading it on YouTube.The picture above is the export settings that I had chosen when exporting my final edit. The resolution I went with was 1080p or otherwise 1920 x 1080 because I had recorded my footage in 1080p and there was no reason to go any higher. I had gone with the video codec as being Apple ProRes 422 as it preserves storage compared to another codec such as H.264 which compresses the footage and reduces quality. Lastly, I chose the file format as .mov as because this is a short film and .mov provides the utmost best quality compared to .mp3 with its only downside being the file size being larger.


Changes I had to make with my storyboard during production process

  When creating my short film, I had to change locations from the shed to my room since my cousins asthma wasn't able to handle how small my shed was which mean't we had to switch locations. This impacted my storyboards since some scenes wasn't able to be filmed however they got changed into new ones. Such as the banging on the shed door has been changed to banging on the room door, and not being able to leave. 

Another part of my storyboard I had to change is the outro/credits. Instead of just diving into the credits I've added  the narrator talking to create more suspense. This is since my teacher has told me to add the narrator back in at the end which has worked successfully. 


The beginning of the storyboard has been changed to the narrator talking which doesn't have time lapses of the forest due to that being more boring for the audience. I added a green screen of my narrator talking instead which fits with cinematography. 


Post-production tools

 1) The first tool I have used is the trimming tool for my first and final edit. This is because at the start and end of each shot I would have a few seconds of me directing, or ending the video. 


2) Using green screen keyer, which removes green from a background which leaves me room to add an any background of my choosing. I have chosen a medieval vampire house to fit my theme and to add tension to my story.

3) Using different effects for the narrator when he is talking. At the end I used space designer a type of reverb to give off an echo effect, which shows us the narrator plays an important role in my short film.

4) voice isolation and fixed audio used to remove wind sounds which makes the speech much more clearer for the audience to hear. 


Production Log Week 12

  Production Log Week 12

Tuesday 11 June 2024 -  did powerpoint generic conventions and meanings

Wednesday 12 June 2024 - did powerpoint lighting techniques used

Wednesday 12 June 2024 - did post-production tools, changes I had to make with my storyboard and export format

Thursday 13 June 2024 - did powerpoint visual editing

Friday at home 14 June 2024 - did powerpoint sound editing , camera analysis and lighting techniques explained

Camera analysis

Sound editing in short film

Lightning techniques in short film

Visual editing in short film

lighting techniques

Generic conventions and meanings


Production setup diary

Here is me with my lightning equipment, with the green screen behind ready for the first scene. I ensured that all wires were out of the way no one would get injured. 


When filming I have taking photos of me making sure I am on track with each document and making sure everything those to plan.  


Here are images of me directing my actors making sure everything goes to plan.


How I used cinematography

  How did I use cinematography? When looking at my short film “Upon Fate” I have noticed I have added many elements of cinematography throug...