When filming my short film I need to know what equipment I need to use and when I will be able to get access to the equipment. The first thing I need to know is what camera I'll need to use and what lens with it. The camera I will be using is a DSLR, and the lens I will be using is a fisheye lens.
What is a DSLR camera?
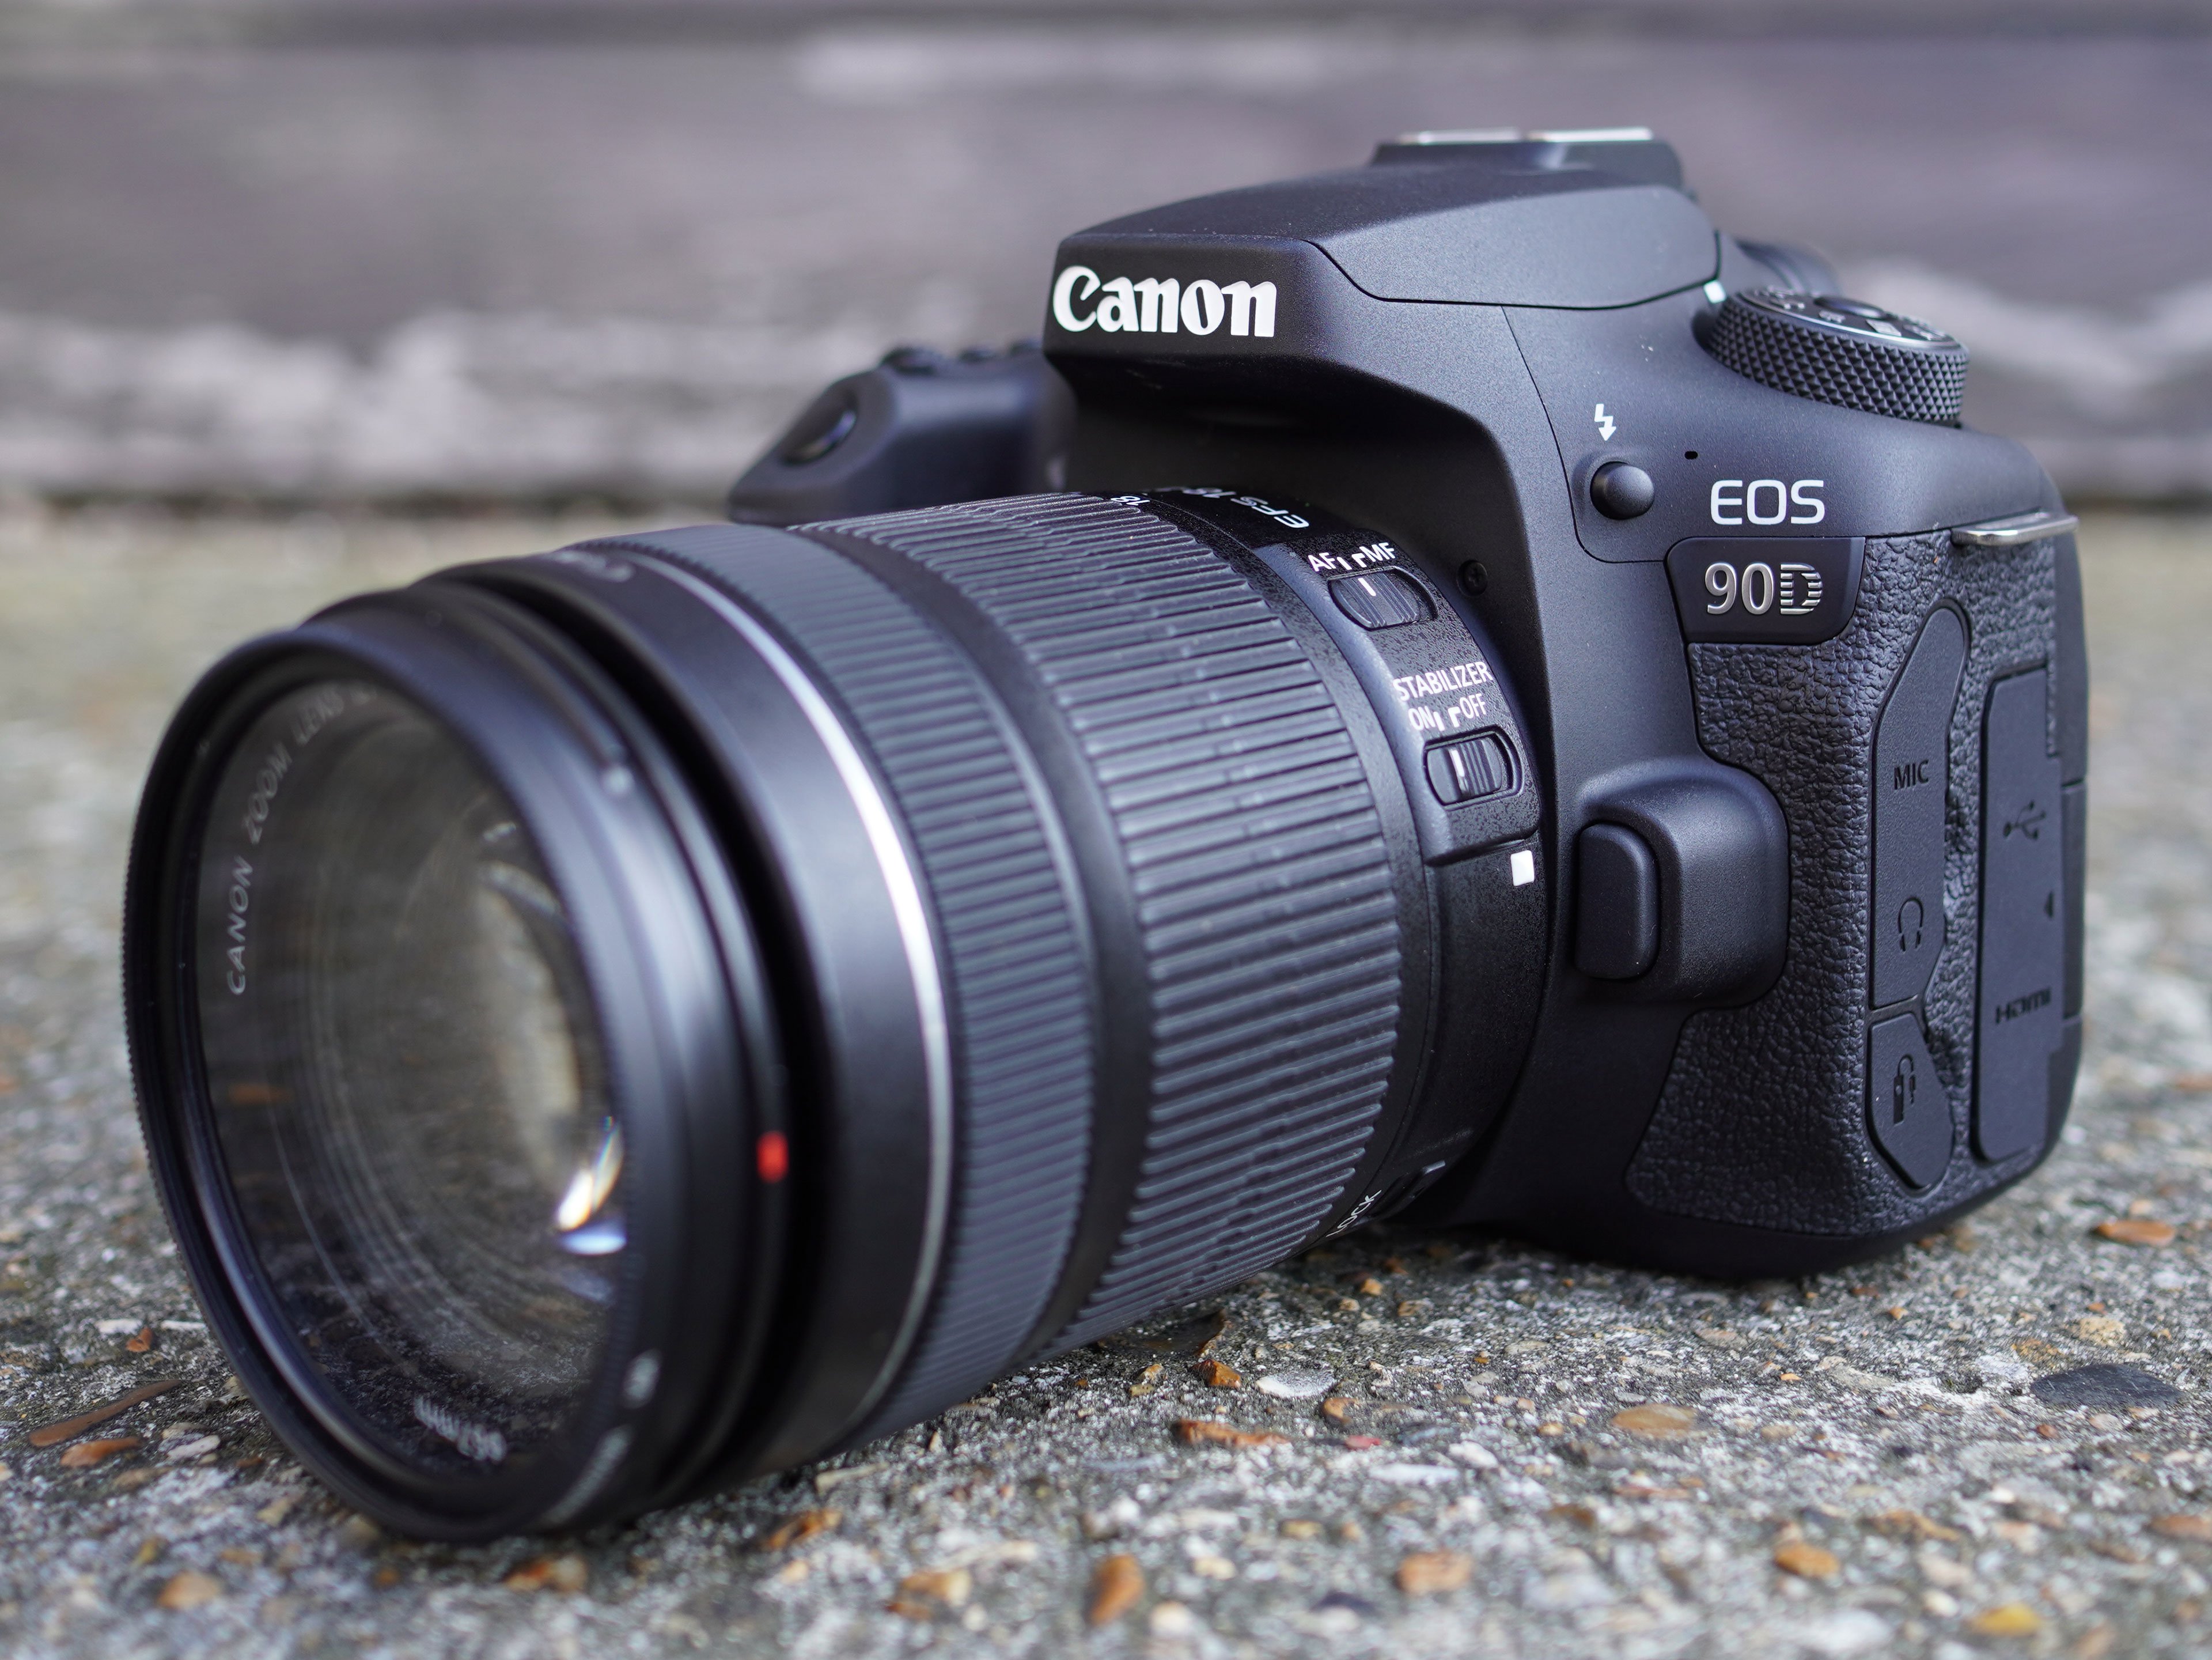
A DSLR camera is a digital camera in which is combined with the mechanics and optics of a single-lens reflex camera. DSLR stands for “Digital Single Lens Reflex”. DSLR allows us to remove the lens that is originally on the camera, and put different lenses on. This allows me to experiment on my project for my short film with different types of lens. I am also able to change the settings on the camera manually instead of automatic. This allows me to have full control of the cinematographic for my short film.
However when using a DSLR I will have to keep in mind what I need to get on the side when using it. This is because I will need a tripod, different lenses, a bag for both tripod and camera, SD card (storing the memory which I film) which may be expensive to get. However since I am using the school’s equipment I don’t need to worry about the expense of everything.
What are camera lenses?
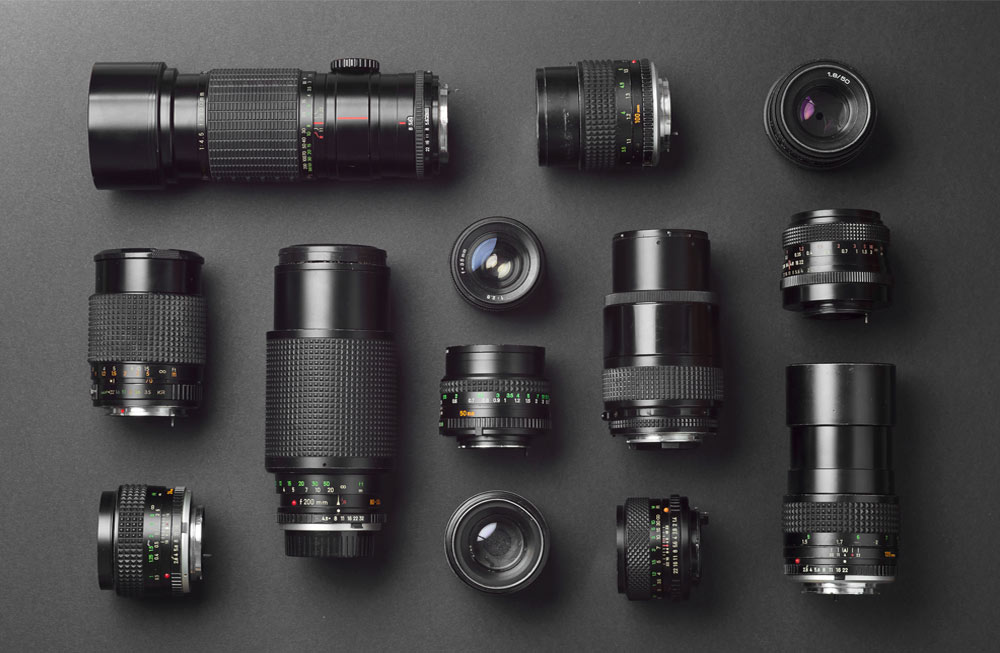
Camera lenses are a mechanical tool for a camera which are used to control the light and focus when shooting. Different camera lenses have different purposes to be able to help with certain aspects when shooting. Some lenses are:
Fisheye lens - Fisheye lens has a very wide-angle lens which covers up to 180°. When shooting the sides of the lens are cornered like a circle. This lens could be used for aesthetic purposes, or could be used to show larger areas since they have a very wise-angle and can show more.
Telephoto - Telephoto lenses are used to capture items faraway closer with good quality. This allows HD photos of wildlife or anything you love. However if hand held a short shutter speed is needed so that the detail of the shake doesn’t get captured.
Wide angle - Wide angle lens allows you to have a wide-field of view which means that you’ll be able to see more in the scene since the focal length is either 35mm or shorter.
Normal lens - Normal lens are the standard lens that originally comes with the camera (such as DSLR). It has a focal length between 35mm to 50mm. This is great for cinematography since it gives off a natural feeling.
Techniques which can be used on a DSLR camera:
Focus pull - A focus pull is when you move the focus to one subject then to another to change the spotlight.
Dolly zoom - A dolly zoom is a camera effect in which the background is moving/ zooming in however the subject e.g a person isn’t moving.
In class we had a task to attempt a focus pull so that we fully understand how it works and how we can corporate the focus pull into our short film. As you can see in the video below my friend is looking outside and the background is focused. Then the focus is moved onto my other friend who is getting greeted with someone. The reason why this cinematography effect will be useful for my short film is because it’ll get my audience to be focused/drawn to the subject that I want them to be. Here is my attempt on the focus pull:
When using the DSLR camera for cinematography it could be used for many things which are:
Camera angles
Adjusting the lighting
Adjusting the focus
This could all be done manually when using the DSLR camera and the lens. When adjusting the lighting on the camera it can be done in multiple ways such as flash on the camera. You could also manually use the camera settings to change the lighting.
The settings would be aperture, shutter speed and iso.

Aperture is the setting which allows light into the lens, either the lens opening or closing indicating how much light needs to be let through.
Shutter speed is the speed of how the camera closes. A fast shutter speed creates a short exposure of light however a slow shutter speed gives a long exposure of light.
Iso is how more of the sensitivity of light is let through. A higher number means higher sensitivity and much more light is able to be captured. However a lower number means lower sensitivity and less light is able to be captured.
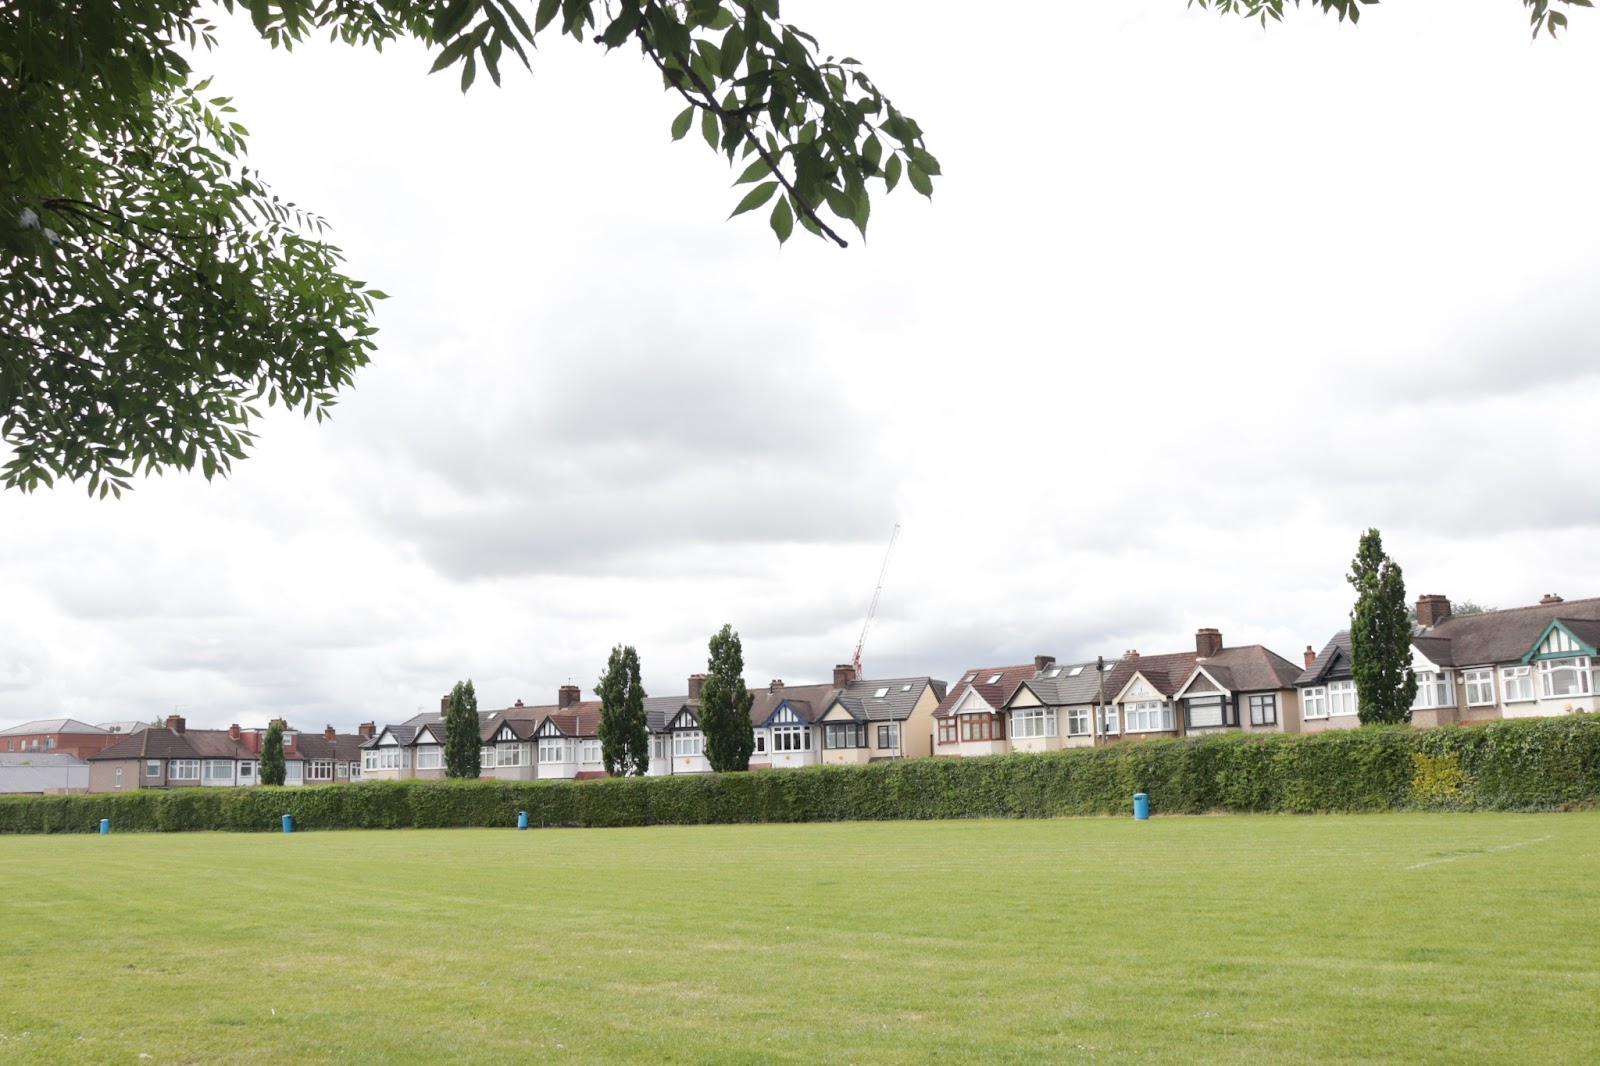
Here are some photos that i took of me testing out different aperture, shutter speeds and iso and the settings used:
Aperture - F8.0
Shutter speed - 0”8
Iso - 400
Aperture - F5.6
Shutter speed - 1/800
Iso - 400
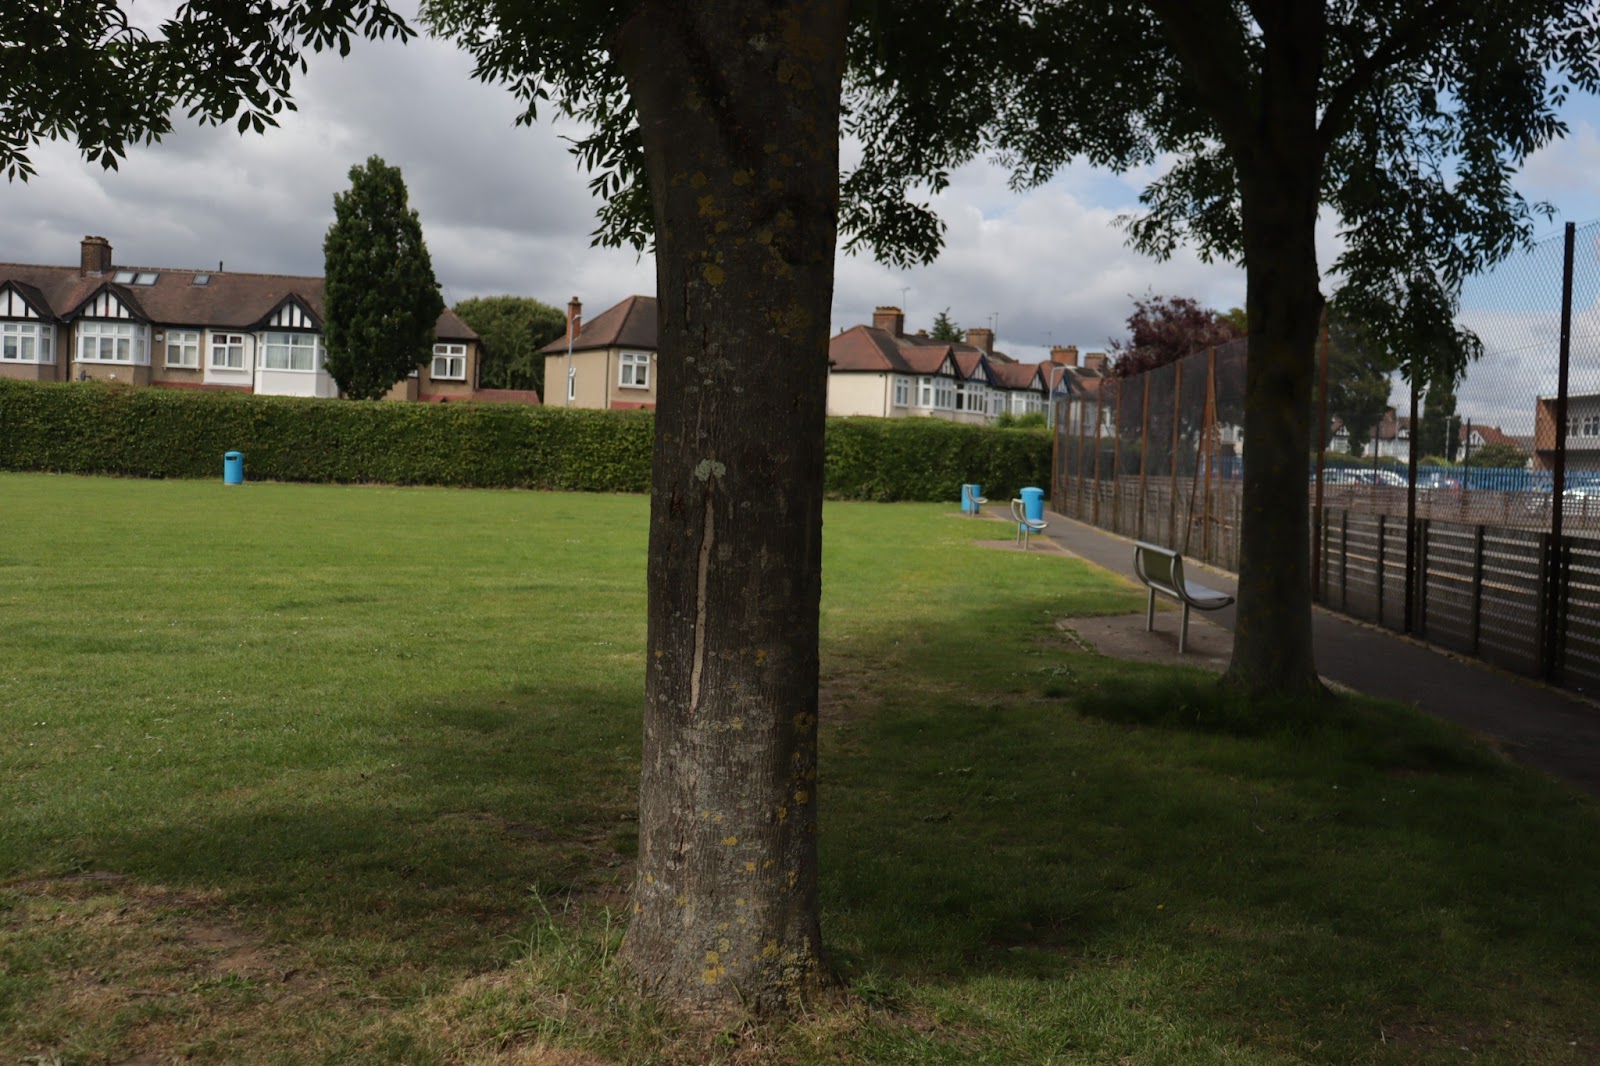
Aperture - F5.0
Shutter speed - 1/1600
Iso - 200
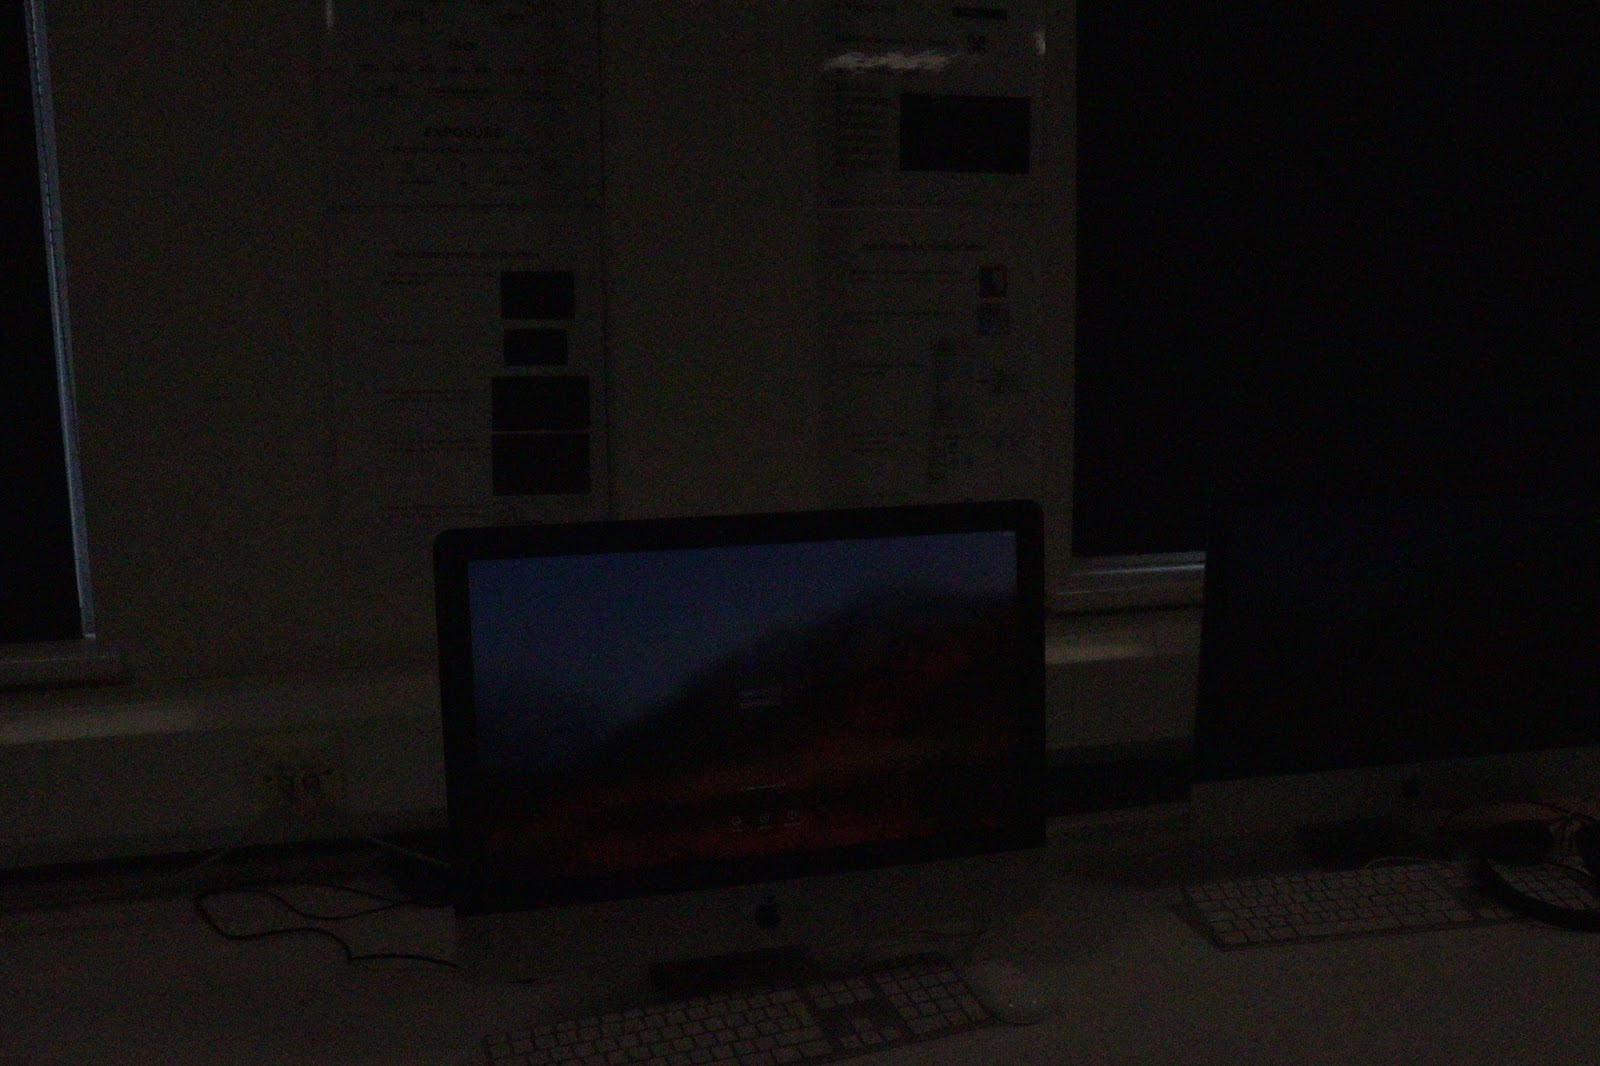
Aperture - F16
Shutter speed - 1/2000
Iso - 12800
As we can see from the images above is how light each of the pictures are according to the settings. The first 2 are bright, the third image and settings look normal with the right amount of light coming through. The last image is dark, which could be used for scary scenes.


No comments:
Post a Comment